We stand behind every product we sell.
All of our brand new items come with a 30-Day money-back or exchange guarantee.


|
|
|

|

|

|

|

|

|

|

|

|

|

|
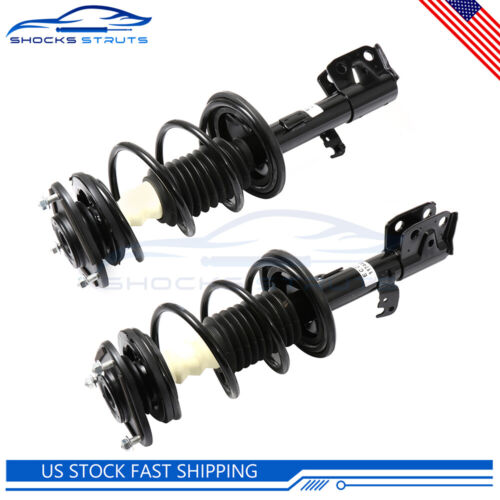
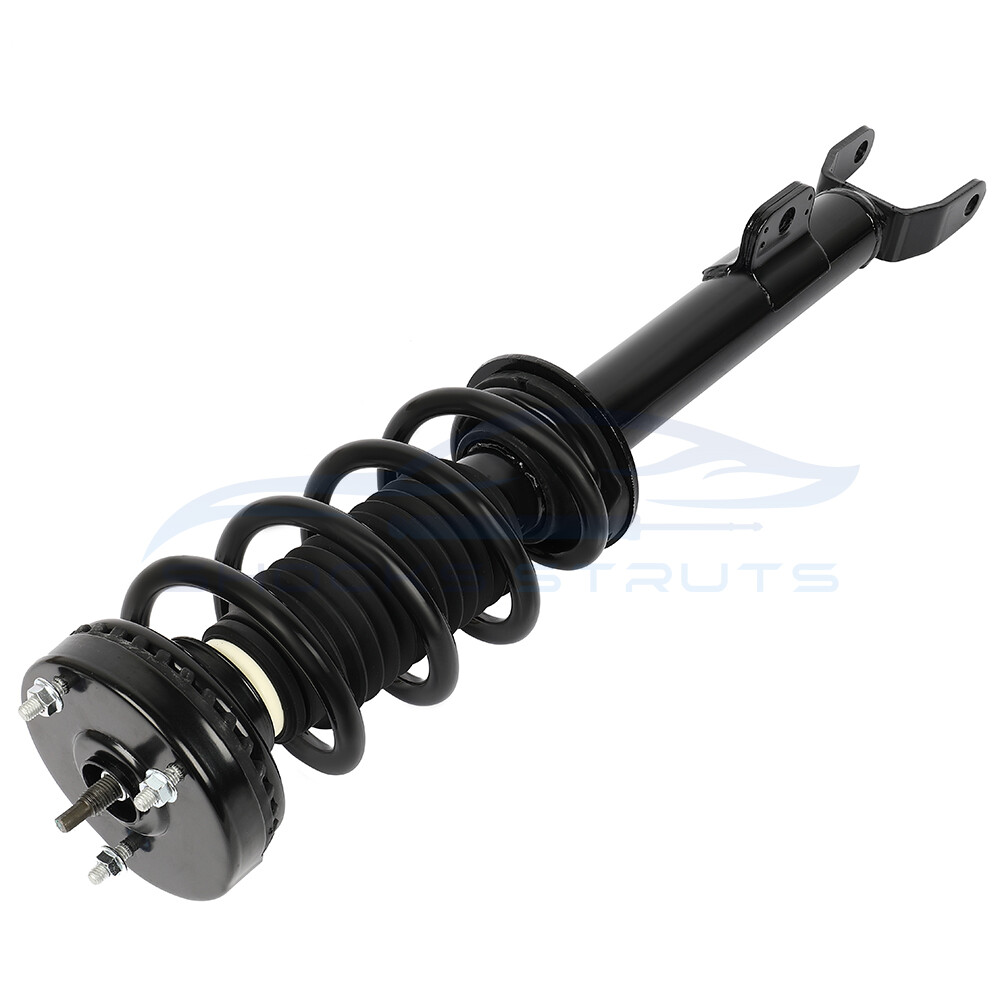
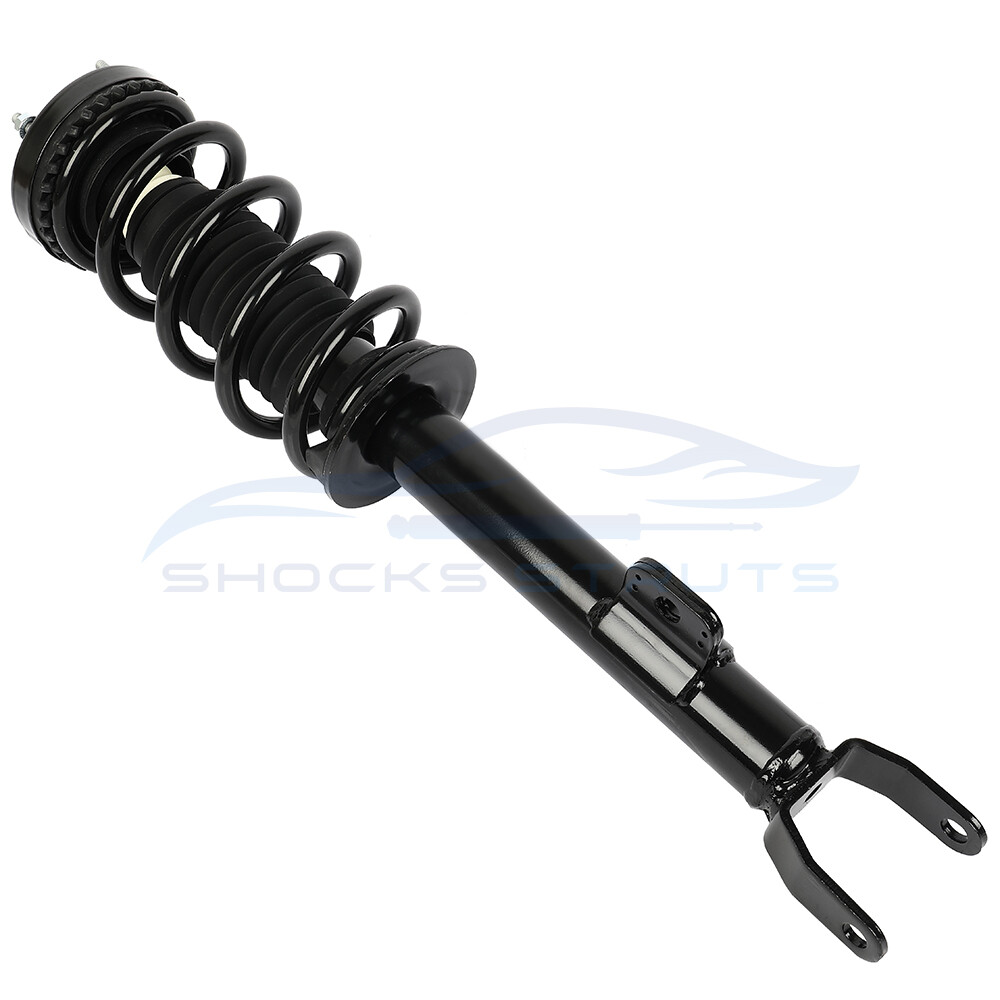
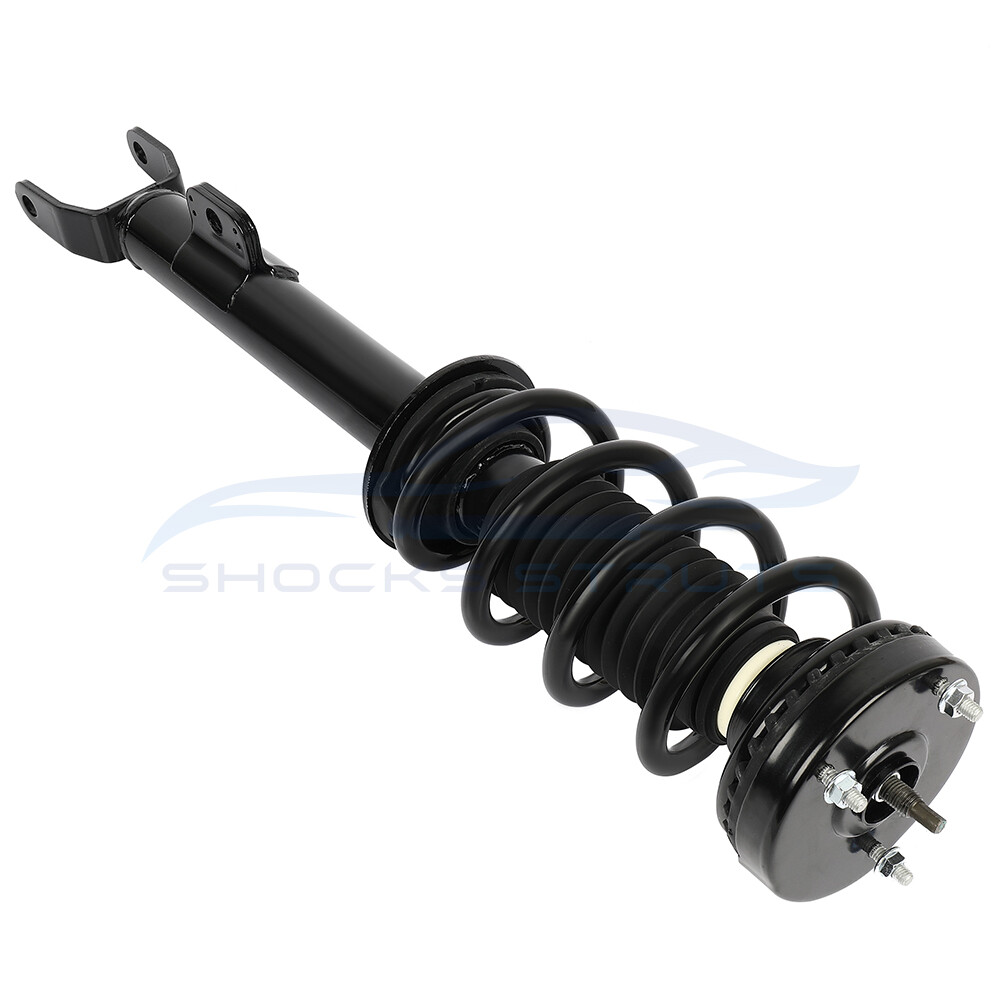
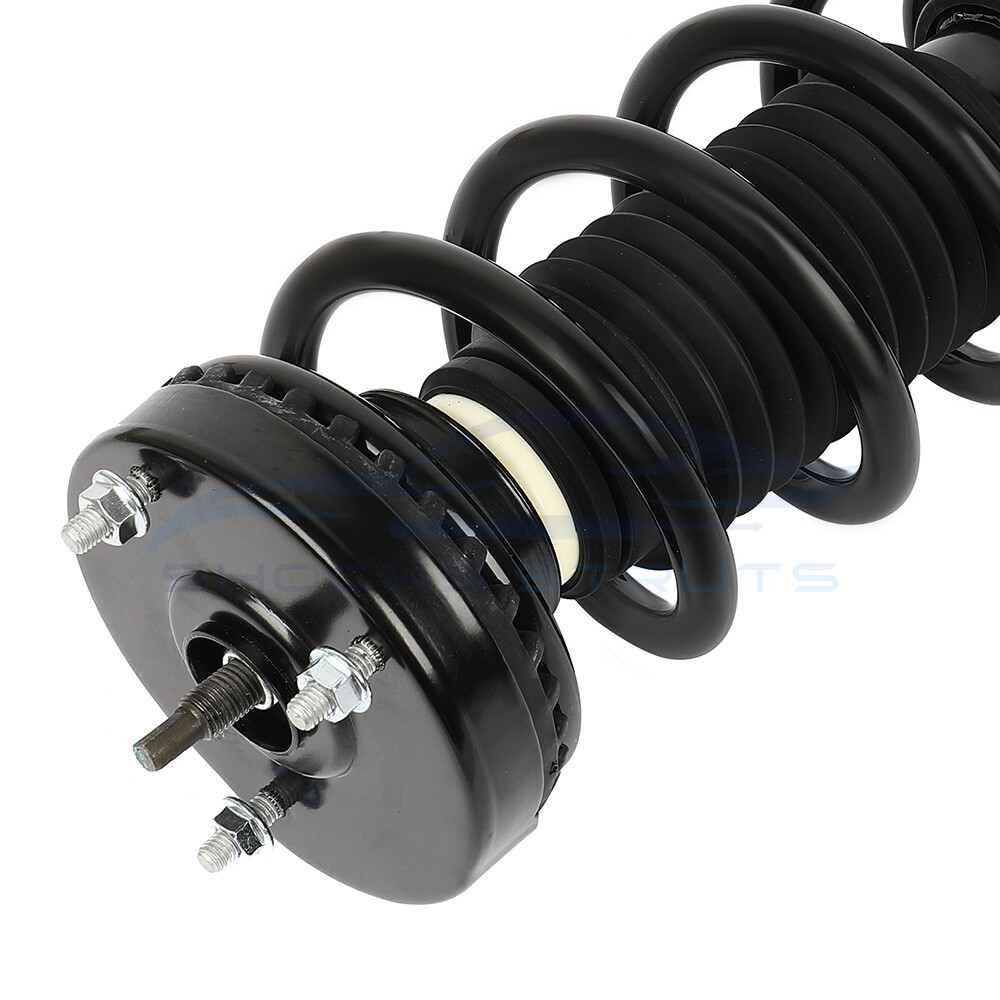
For Dodge Charger Chrysler 300 RWD Quick Install Pair Front Complete Struts
Fitment:
CHRYSLER 300 2012 - 2023 S; 5.7L RWD
DODGE CHALLENGER 2012 - 2022 R/T, R/T Plus
DODGE CHARGER 2011 SE; 3.6L
DODGE CHARGER 2012 R/T; RWD
DODGE CHARGER 2013 R/T, SE; 5.7L RWD
DODGE CHARGER 2014 - 2022 R/T; RWD
Features:
??Quality??100% brand new,Strictly produced according to the standard and the quality and stability of the product are better.
??Easy To Install??Ensure precise fit and quickly replace compete strut.
??Recover Performance?? Replacing our struts assembly, shorten the braking distance, and increase the safety distance,improve steering response, reduce stopping distance and give you more confidence in driving.
??Increase Tire Grip??By increasing the spring stiffness coefficient, the rapid vibration of the wheel is suppressed, the tire is prevented from leaving the road, and the exercise stability is improved.
??Bounce Reduction?? Damping rods reduce body vibration and bounce by generating resistance through the flow of fluid to absorb or slow down the direct impact of energy.
??Vehicle Compatibility??Please check the description and compatibility chart before your purchasing?? if you have any question regarding our this product.
Package Include:
We'll ship the struts separately in two pakages if the full set is over weight. Notice please!
How to Install :
Precautions for replacing the shock absorber
?

| Item Specifics | |
|---|---|
| Brand | ShocksStruts |
| Manufacturer Part Number | SS118400S01 |
| Warranty | 1 Year |
| Fitment Type | Direct Replacement |
| Interchange Part Number | 272665 Front Complete Struts with Spring Assembly |
| Other Part Number | 272665 |
| Placement on Vehicle | Front Left Right |
| OE Spec or Performance | OE Spec |
| Part Type | Strut Assembly |
| Greasable or Sealed | Sealed |
| Included Hardware | None |
| Custom Bundle | Yes |
| Gas Charged Shock | Yes |
| Product Type | Complete Struts With Springs Mounts |
We stand behind every product we sell.
All of our brand new items come with a 30-Day money-back or exchange guarantee.
Store Category Hot Item
Excellent Delivery
Help & Info Payment Policy Shipping Policy Return Policy FAQ About Us |
For Dodge Charger Chrysler 300 RWD Quick Install Pair Front Complete Struts
For Dodge Charger Chrysler 300 RWD Quick Install Pair Front Complete Struts
Fitment: CHRYSLER 300 2012 - 2023 S; 5.7L RWD DODGE CHALLENGER 2012 - 2022 R/T, R/T Plus DODGE CHARGER 2011 SE; 3.6L DODGE CHARGER 2012 R/T; RWD DODGE CHARGER 2013 R/T, SE; 5.7L RWD DODGE CHARGER 2014 - 2022 R/T; RWD
Features: ??Quality??100% brand new,Strictly produced according to the standard and the quality and stability of the product are better.
Package Include:
We'll ship the struts separately in two pakages if the full set is over weight. Notice please!
How to Install :
Precautions for replacing the shock absorber
?
1.The note there will NOT be read. If you want to change the shipping address, please contact us by eBay messages.
2.(if you want cancel orders or change address pls contact us within 6 hours after payment,or we are not responsible for shipping a replacement.)
3.Payment must be received within 10 days as auction ended or order might be delayed.
Product will be shipped within 3 business days after full payment is received and verified. Delivery Time is about 3-7 business days to most of countries.
All domestic orders will be shipped via USPS, UPS or FedEx from our US warehouse and usually arrives to your door in about 3-5 business days.
Please tell us your shipping address if it is different from the one in eBay.
The tracking number will be given for the customer to check the shipping status online (registered or faster service only).
We are not responsible for any wrong or undeliverable addresses. Please verify and update your shipping address on eBay during checkout.
<ul style="font-style: normal; font-variant-ligatures: normal; font-variant-caps: normal; font-weight: 400; font-size: 10px; font-family: " open="" sans",="" 微软雅黑,="" "microsoft="" yahei",="" 微軟正黑體,="" jhenghei",="" arial,="" helvetica,="" sans-serif,="" verdana;"="">
1. We maintain high standards of excellence (five stars review)and strive for 100% customer satisfaction! FEEDBACK IS VERY IMPORTANT TO US. We request that you contact us immediately BEFORE you give us neutral or negative feedback, so that we can satisfactorily address your concerns.
2. It is impossible to address issues if we do not know about them!
All rights reserved. |