

|
|
|

|

|

|

|

|

|

|
Fitment : (Please look the compatibility list's note to know more details )
2013 Lexus GS450h All
2010-2012 Lexus HS250h All
2009-2010 Lexus LS460 All
2004-2006 Lexus RX330 All
2006-2008 Lexus RX400h All
2005-2010 Scion tC All
2008-2014 Scion xB All
2002 Toyota Camry 2.4L
2002-2003 Toyota Camry All
2004-2010 Toyota Highlander 3.3L
2008-2010 Toyota Highlander 3.5L
2004-2010 Toyota Highlander All
2011-2013 Toyota Sienna 3.5L
2004-2014 Toyota Sienna All
2002-2003 Toyota Solara All
2009-2013 Toyota Venza 2.7L
2009-2014 Toyota Venza All
Features & Benefits:
- One-piece laser welded body for maximum protection and precise operation maintaining sensor integrity
- Dual internal talc seal makes Oxygen sensors last longer
- PTFE allows increased air flow for a faster switch rate to improve fuel economy and save the motorist money at the pump
- Stainless steel shield protects the element from thermal shock and regulates proper air flow to ensure faster sensor response and better performance
- Manufactured with the highest grade materials for prolonged life and superior performance
?
Symptoms of a bad osygen sensor:
- Check Engine Light is ON
-
A decrease in fuel economy
-
Engine Hesitation or misfire
-
Rough Idling
-
look the oxygen sensor's leader
?

Installation steps:
Step1.Park your Vehicle, set the parking brakes and open the hood
Step2.Disconnect the negative battery terminal. Remove the plastic cover. Loosen the 10mm nut. Remove the negative clamp from the battery.
Step3.Locate the oxygen sensor on your Vehicle. Do not touch the sensor or the heat shield until the engine cools down.
Step4.Press the connector and pull it away to unplug the oxygen sensor. Use a flat head screwdriver to press the locking tab on the connector before you pull it.
Step5.Place the oxygen sensor socket on the sensor and break it loose. If the sensor cannot be loosened spray penetrating oil and let it sit for at least 10 minutes. This will make it easier to remove the old Vehicle oxygen sensor.
Step6.Install the new oxygen sensor. Tighten the new Vehicle oxygen sensor to the recommended torque. If you are not sure what the correct torque call your Chevy dealer.
Step7.Connect the oxygen sensor wire harness by plugging it in.


How does the oxygen sensor in a car work?
The goal of the sensor is to help the engine run as efficiently as possible and also to produce as few emissions as possible.
The oxygen sensor is positioned in the exhaust pipe and can detect rich and lean mixtures. The mechanism in most sensors involves a chemical reaction that generates a voltage. The engine's computer looks at the voltage to determine if the mixture is rich or lean, and adjusts the amount of fuel entering the engine accordingly.
The reason why the engine needs the oxygen sensor is because the amount of oxygen that the engine can pull in depends on all sorts of things, such as the altitude, the temperature of the air, the temperature of the engine, the barometric pressure, the load on the engine, etc.
When the oxygen sensor fails, the computer can no longer sense the air/fuel ratio, so it ends up guessing. Your car performs poorly and uses more fuel than it needs to.

NOTES: If you have any question, please contact us.


Shop Category Hot Item
Picture
New List Item
Help & Info Payment Policy Shipping Policy Return Policy FAQ About Us |
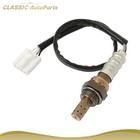
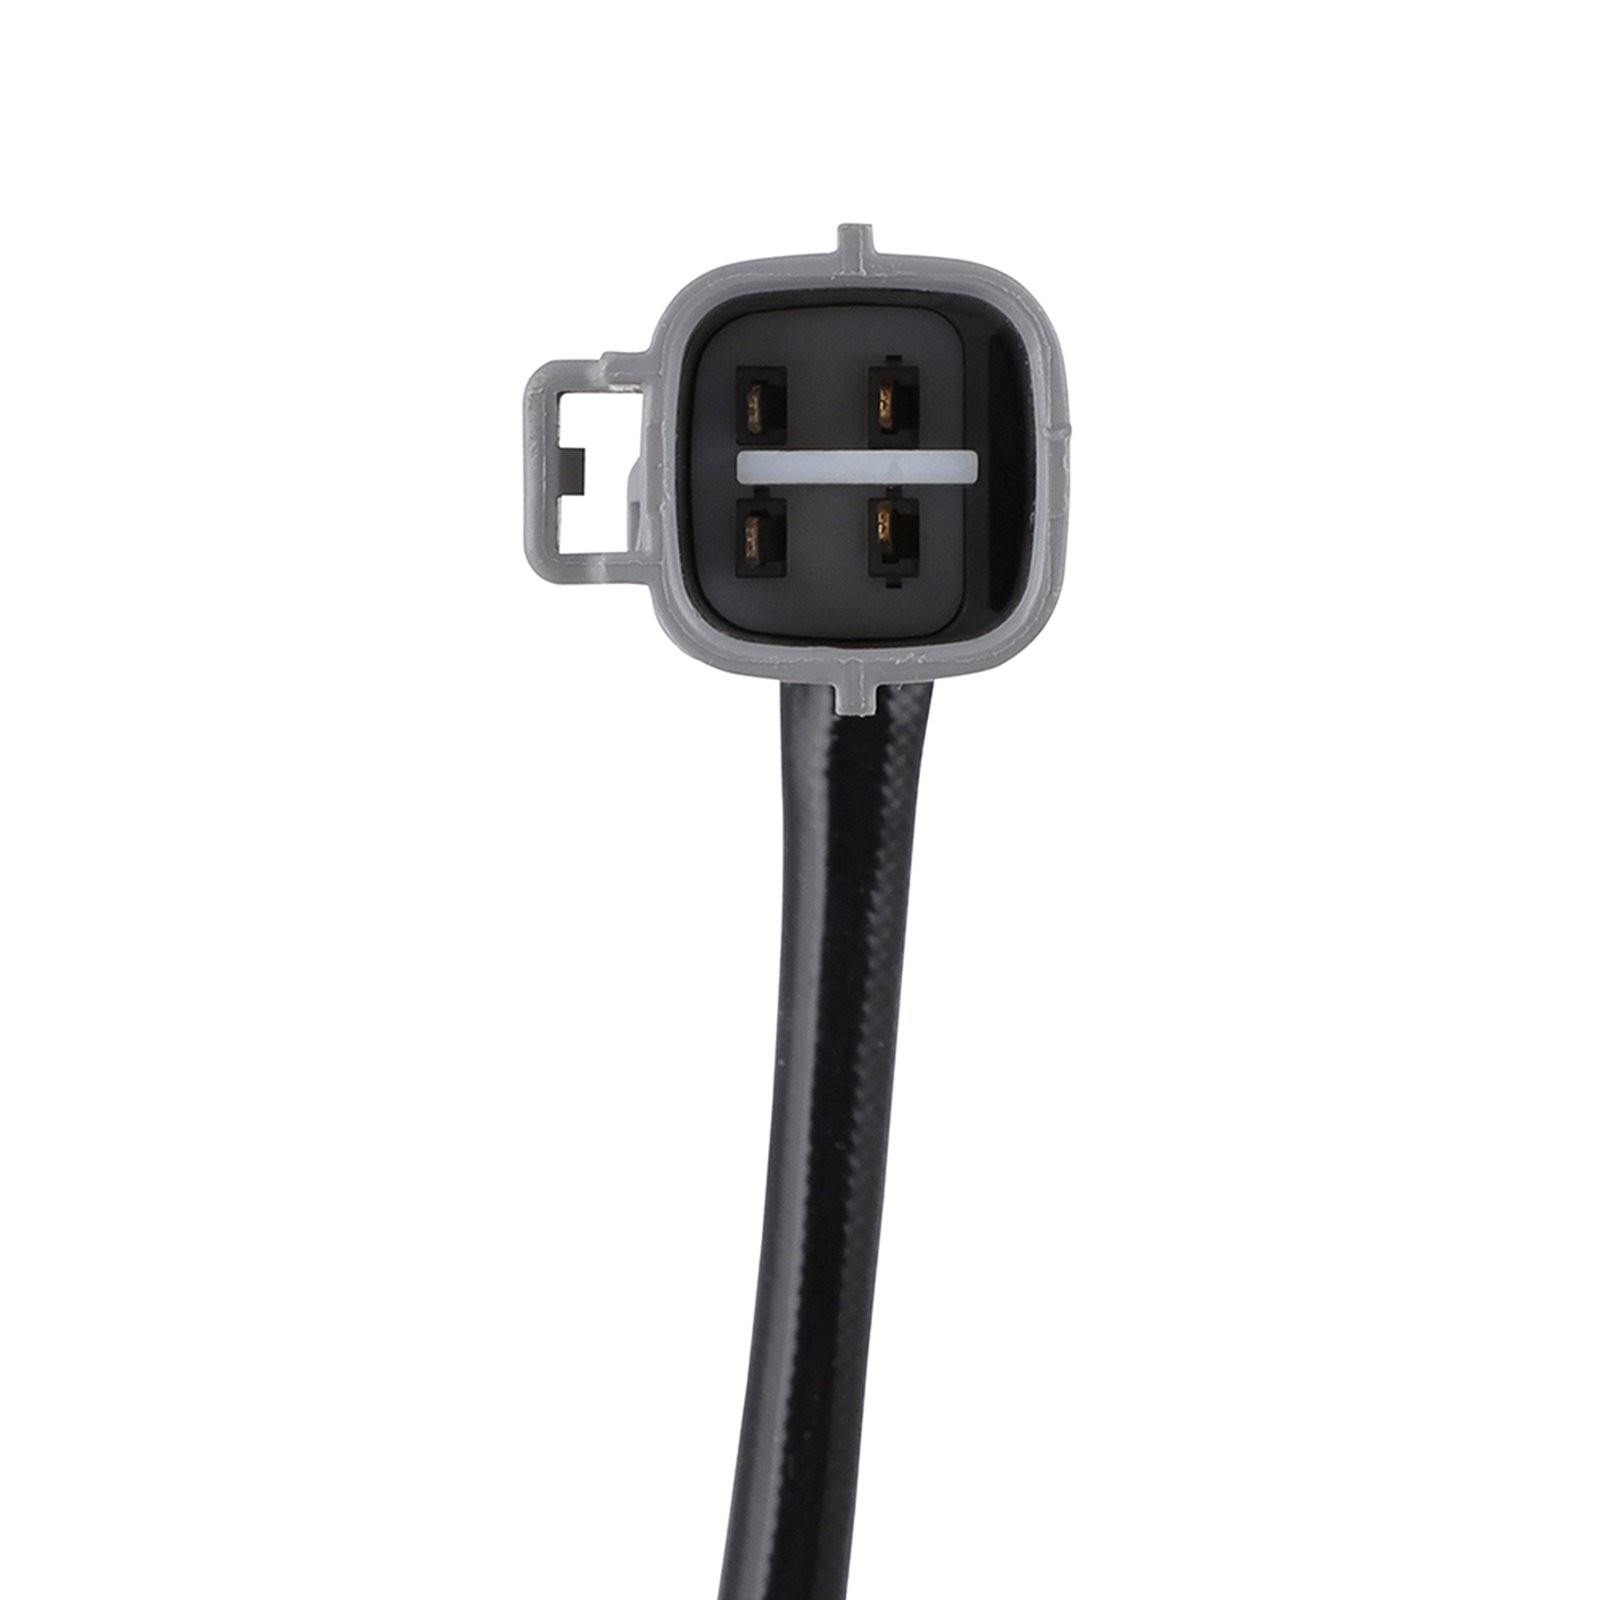
?Downstream for 2007-2010 Toyota Sienna 3.3L V6 O2 Oxygen 02 Sensor Rear
Fitment : (Please look the compatibility list's note to know more details )
2013 Lexus GS450h All
Features & Benefits:
?
Symptoms of a bad osygen sensor:
?
Installation steps: Step1.Park your Vehicle, set the parking brakes and open the hood
Step2.Disconnect the negative battery terminal. Remove the plastic cover. Loosen the 10mm nut. Remove the negative clamp from the battery.
Step3.Locate the oxygen sensor on your Vehicle. Do not touch the sensor or the heat shield until the engine cools down.
Step4.Press the connector and pull it away to unplug the oxygen sensor. Use a flat head screwdriver to press the locking tab on the connector before you pull it.
Step5.Place the oxygen sensor socket on the sensor and break it loose. If the sensor cannot be loosened spray penetrating oil and let it sit for at least 10 minutes. This will make it easier to remove the old Vehicle oxygen sensor.
Step6.Install the new oxygen sensor. Tighten the new Vehicle oxygen sensor to the recommended torque. If you are not sure what the correct torque call your Chevy dealer.
Step7.Connect the oxygen sensor wire harness by plugging it in.
How does the oxygen sensor in a car work?
NOTES: If you have any question, please contact us.
(1).Warehouse is located in Los Angeles, California, where local pickup transaction is temporarily not available.
(2).USPS PO Box, APO Army Post Office, FPO Fleet Post Office addresses are not available.
(3).We usually need a 1-2 business day as handling time for packaging and shipping scheduling. Estimated delivery dates should be 4-6 business days after your payment is received.
Items valued over $15 on eBay that include a warranty or service contract must contain additional details in seller's listing description.
5 Year Warranty Terms and Procedures
(1).The warranty terms only apply to all the auto parts purchased from AUTODAYPLUS.
(2).AUTODAYPLUS carries no warranty responsibilities for any auto parts removing fees, installation fees, consulting fees, labor costs, towing charges, rental car reimbursements.
(3).The stated 5 year warranty is limited to only one brand new replacement for each part purchased during 5 year warranty time period.
(4).AUTODAYPLUS promises free replacement due to quality defects or item not as described issues within 60 calendar days from the date when buyers receive their items in the situation when buyers are willing to provide convictive proofs or professional diagnose report if required, otherwise AUTODAYPLUS has the right to refuse any replacement requests.
(5).AUTODAYPLUS promises free replacement due to quality defects or item not as described issues after 90 calendar days from the date when buyers receive their items in the situation when buyers promise to prepay 15% of the original item sales price as postage for replacement, otherwise AUTODAYPLUS has the right to refuse any replacement requests.
(6).AUTODAYPLUS carries no warranty responsibilities for any replacement due to car accidents, drag racing, unprofessional replacement, road hazard, disassembly.
(7).Anyone who attempts to execute 5 year warranty procedures must be the original purchaser of the item(s), otherwise 5 year warranty terms void immediately.
(8).Anyone who attempts to execute 5 year warranty procedures must provide screenshot of his or her original eBay order details if required, including buyer user name, shipping address, item title, item id, final sales price.
(9).AUTODAYPLUS has the final power of interpretation of the above 5 Year Warranty Terms and Procedures.
Refunds will be credited within 2 or 3 business days after returned item(s) is received.
1. We maintain high standards of excellence (five stars review)and strive for 100% customer satisfaction! FEEDBACK IS VERY IMPORTANT TO US. We request that you contact us immediately BEFORE you give us neutral or negative feedback, so that we can satisfactorily address your concerns.
2. It is impossible to address issues if we do not know about them!
Payments are expected within 7 days after the last winning auction is closed; Otherwise Unpaid Item Dispute will be filed with eBay.
All rights reserved. |