Unscrew
Unscrew face-plate screws and loosen the Set screws (flat-head/hex small ones, located behind the face-plate)
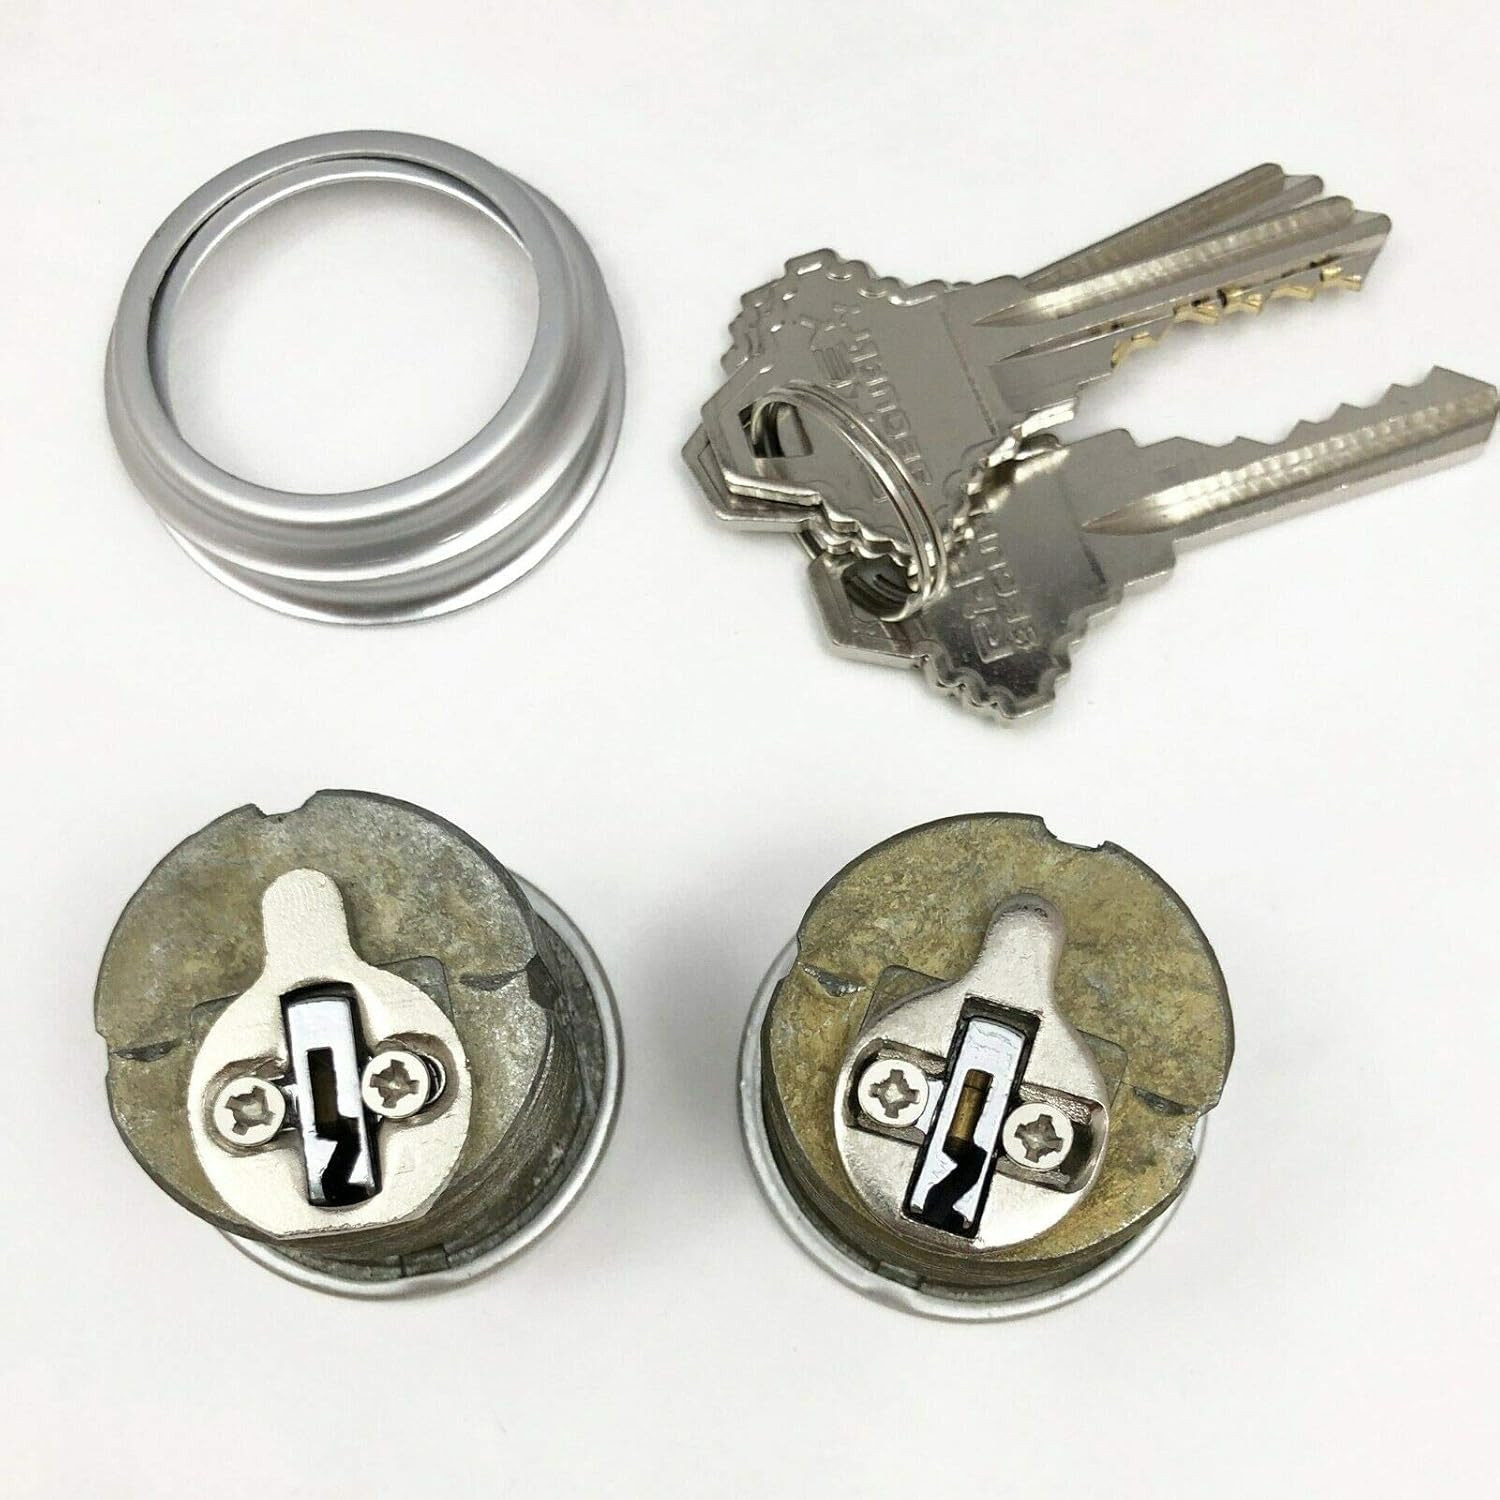
Remove Old Cylinder
Unscrew the old mortise cylinder off your lock, by turning it counterclockwise.
If you have an Anti-Wrench Mortise Cylinder Guard around it, you can use an old key as a tool, insert it into the key hole and carefully use it to help you get the initial turn to loosen the cylinder (be careful not to break it inside the cylinder).
If you find it difficult to turn, you can try to loosen the 2 mounting screws that hold the lock on the door. Don't remove them! Just loosen them to allow the mortise lock and cylinder to be more free inside the door frame.
Install New Cylinder
Start by turning the cylinder counterclockwise until you feel your new cylinder and mortise lock threads are aligned.
Turn your new cylinder clockwise until it is deep enough to engage the mortise lock pivot pin.
*Use extreme caution not to cross thread the cylinder as this may ruin the entire lock!
* Do not over tighten the cylinder. If the cam touches the metal lock rod behind it, it will prevent it from turning smoothly.
* If you find it difficult to screw in, you can try to loosen the 2 mounting screws that hold the lock on the door. Don't remove them! Just loosen them to allow the mortise lock and cylinder to be more free inside the door frame.
Mountaing Screw / Face-plate
Align the cylinder so that the keyway is in the same position as it originally was (usually to the bottom, parallel to the door frame).
* Your new mortise cylinder has 2 grooves on both sides. The set screws must be aligned with one of those grooves to secure the cylinder in place!
Tighten the set screw until your new cylinder cannot move in place.
Screw back the face-plate.