We stand behind every product we sell.
All of our brand new items come with a 30-Day money-back or exchange guarantee.


|
|
|

|

|

|

|

|

|

|

|

|

|

|

|

|
Item-condition
Compatible with the following vehicles
2004-2006 Chrysler Pacifica 3.5L V6 3497cc 215 CID Sport Utility FWD
2004-2006 Chrysler Pacifica 3.5L V6 3518cc 215 CID Sport Utility FWD
2005-2005 Chrysler Pacifica 3.8L V6 230 CID Sport Utility FWD
2007-2008 Chrysler Pacifica 3.8L V6 230 CID Sport Utility FWD
2007-2007 Chrysler Pacifica 3.8L V6 3778cc 231 CID FWD
2007-2008 Chrysler Pacifica 4.0L V6 3952cc 241 CID Sport Utility FWD
Package Included:
2X Shocks Struts (Front Left Right)
NOTE: Look just above this product description (Item Specifics) for all part numbers and placement on vehicle.Please check your model carefully to avoid unnecessary trouble
HOW TO INSTALL :
Step 1: Before you lift the vehicle, loosen lug nuts one full turn.
Step 2: Jack up vehicle and use jack stands for safety & remove the tire from the rotor.
Step 3: (Wheel alignment is necessary after strut replacement.) Marking the position of all the bolts will help
keep the alignment close to original and save time aligning. Use a colored pencil to mark the old strut on the bolt
Step 4: Use penetrating oil (such as WD40) to coat any rusted fasteners, let soak for approximately 1 hour.
Step 5: (Optional) While waiting for oil to soak, take this time to inspect all other components that may need
replacement (brake pads, rotors, brake hoses, ball joints, CV boots, tie rod ends, bushings, sway bars, etc).
Step 6: Remove any brake line or wire attachments from the strut body. Do not disconnect brake lines (if possible)!
Opening brake lines will require bleeding of the brake system.
Use extreme caution when removing brake lines from your struts, as any damage to your brake line can result in
expensive and time consuming repairs.
Step 7: Remove sway bar attached to the strut assembly or control arm.
Step 8: Remove the tie rod (only if it attached to the body of the strut, if not leave it attached to the steering knuckle).
Step 9: Remove the strut to knuckle bolts at the bottom of the strut. On some vehicles, the brake caliper and rotor
may need to be removed to gain access.
Step 10: Remove the upper mounting plate bolts located in the engine or trunk compartment. Do not remove the
center retaining nut! It is not safe to unload the spring from the assembly in this position.
Step 11: Carefully remove the old strut assembly from the vehicle. Be very cautious not to let the strut "drop" down
on your brake line, rotor or drum.
Step 12: Install the new Complete Strut Assembly in the reverse order as above (steps 11-6). Using an anti-seize
compound on all fasteners is suggested.
Step 13: Carefully double check your work and make sure everything is tightened to manufacturers torque specifications.
Step 14: Replace the tire the rotor and tighten to manufacturers torque specifications.
Step 15: Slowly lower the vehicle down after removing the jack stands. Pay very close attention to any odd sounds
when the vehicle is lowered onto the new Complete Strut Assemblies.
Step 16: It is very important that you immediately "road test" your vehicle right away to ensure that installation was done properly.
Listen and feel for common signs of incorrect installation while driving slowly over speed bumps, rough road or potholes.
| Item Specifics | |
|---|---|
| Brand | CLASSIC-AutoParts |
| Manufacturer Part Number | C808972APS |
| Type | Strut |
| Fitment Type | Direct Replacement |
| Placement on Vehicle | Left Right Front |
| Manufacturer Warranty | 1 Year |
| Features | Sealed |
| Modified Item | No |
| Adjustable | No |
| Gas Charged Shock | Yes |
| Interchange Part Number | 339088 |
| Other Part Number | 72130 |
| Kit or Single Part | Kit |
| Kit Parts Included | Set of two front struts |
| Surface Finish | Powder Coat |
| OE Spec or Performance/Custom | OE Spec |
| Color | Gloss Black |
| Return Policy | Free return or replacement within 30 days |
| Shock Absorber System | Double Pipe |
| Shock Absorber Type | Gas |
| Vintage Part | No |
| Material | Steel |
| Mounting Style | Screw-On |
| Performance Part | No |
| Quantity | 2Pcs |
| Superseded Part Number | Shock and Strut |
| Universal Fitment | No |
| Compressed Length | 13.380"(F) |
| Travel Length | 7.420"(F) |
| Included Hardware | Mounting Hardware |
| Item Length | 20.800"(F) |
| Body Length | 12.938"(F) |
| Package Dimension (in.) | 22.44*16.54*9.06 |
| Gross Weight (LB) | 21.208 |
| Package Dimension (in.) | 22.44*16.54*9.06 |
| Gross Weight (LB) | 21.208 |

We stand behind every product we sell.
All of our brand new items come with a 30-Day money-back or exchange guarantee.
If there is an issue with shipping or the item you purchased please contact us via ebay message or call us before opening a case or leaving feedback.We will try our best to resolve any kind of issue.
We maintain high standards of excellence and strive for 100% customer satisfaction! FEEDBACK IS VERY IMPORTANT TO US. We request that you contact us immediately BEFORE you give us feedback, so that we can satisfactorily address your concerns.
Store Category Hot Item
Fast and Free
Best seller
|
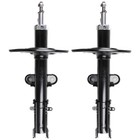
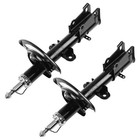
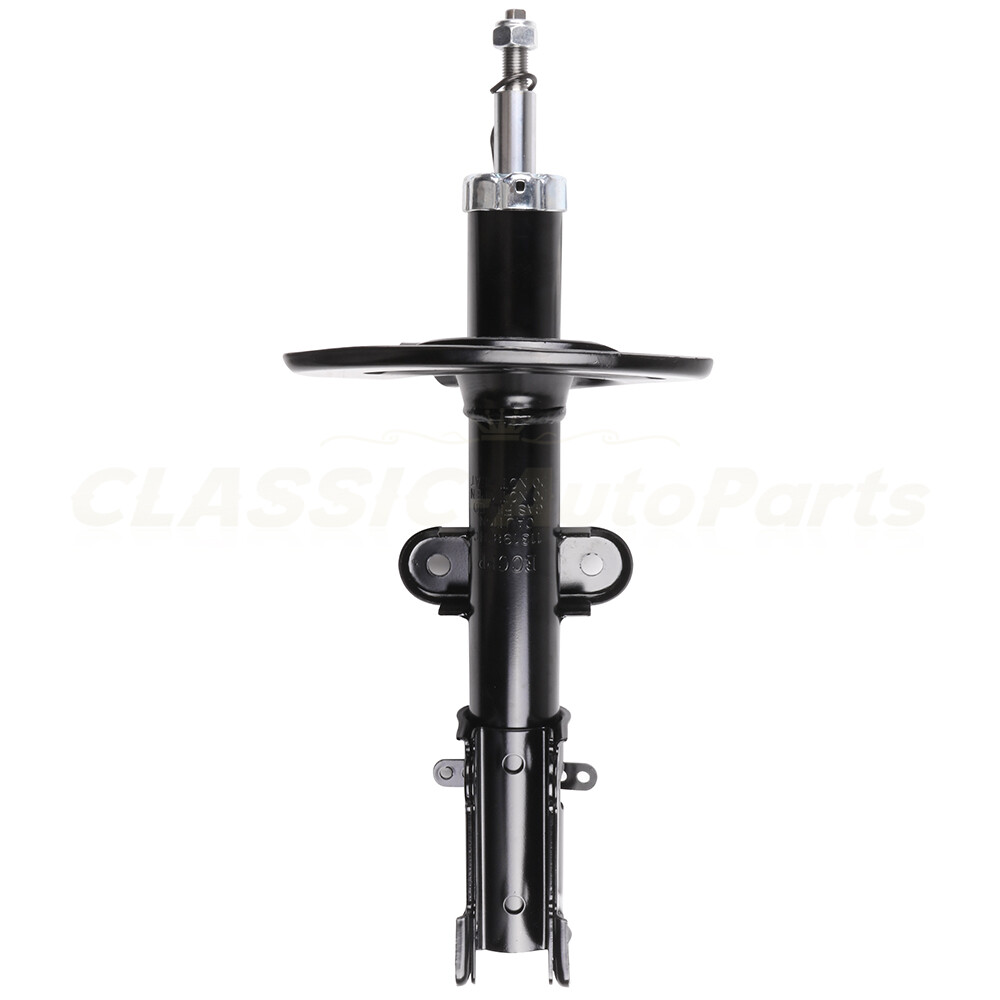
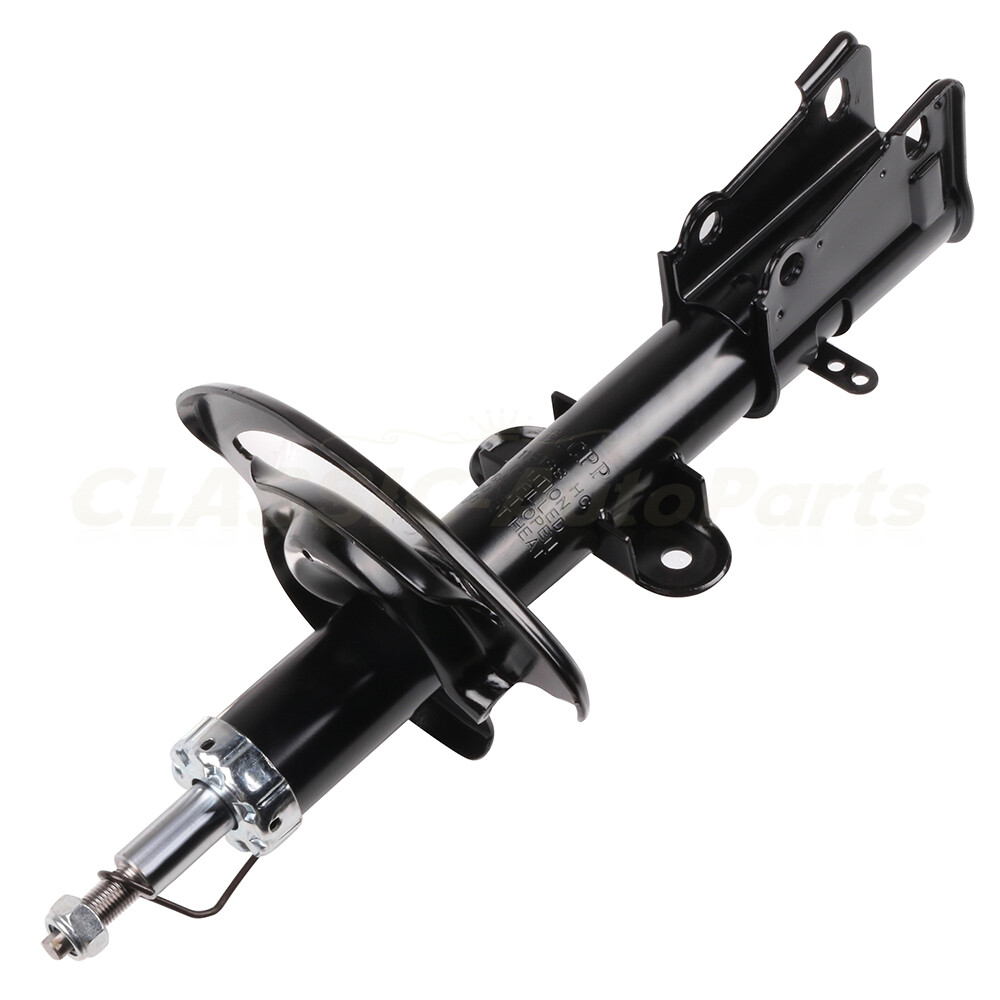
2Pcs For 2004-2008 Chrysler Pacifica Sport Utility FWD Front Shocks And Struts
Item-condition
Compatible with the following vehicles
2004-2006 Chrysler Pacifica 3.5L V6 3497cc 215 CID Sport Utility FWD 2004-2006 Chrysler Pacifica 3.5L V6 3518cc 215 CID Sport Utility FWD 2005-2005 Chrysler Pacifica 3.8L V6 230 CID Sport Utility FWD 2007-2008 Chrysler Pacifica 3.8L V6 230 CID Sport Utility FWD 2007-2007 Chrysler Pacifica 3.8L V6 3778cc 231 CID FWD 2007-2008 Chrysler Pacifica 4.0L V6 3952cc 241 CID Sport Utility FWD
Package Included:
2X Shocks Struts (Front Left Right)
NOTE: Look just above this product description (Item Specifics) for all part numbers and placement on vehicle.Please check your model carefully to avoid unnecessary trouble
HOW TO INSTALL :
1. The note there will NOT be read. If you want to change the shipping address, please contact us by eBay messages.
2.if you want cancel orders or change address pls contact us within 6 hours after payment,or we are not responsible for shipping a replacement.
1.All the orders are shipped from USA warehouse.
2.Orders processed within 24 hours of payment verification.
3. The images shown are not the actual item and are for your reference only.
4.If you have not received your shipment within 15 days from payment , please contact us. We will track the shipment and get back to you as soon as possible with a reply. Our goal is customer satisfaction!
We stand behind every product we sell. All of our brand new items come with a 30-Day money-back or exchange guarantee. If there is an issue with shipping or the item you purchased please contact us via ebay message or call us before opening a case or leaving feedback.We will try our best to resolve any kind of issue. We maintain high standards of excellence and strive for 100% customer satisfaction! FEEDBACK IS VERY IMPORTANT TO US. We request that you contact us immediately BEFORE you give us feedback, so that we can satisfactorily address your concerns. All rights reserved. |