


Fitment
For 2007-2010 Dodge Nitro
For 2008-2012 Jeep Liberty
For 2007-2012 Jeep Wrangler
When to Replace Brake Calipers?
Over time in normal driving conditions, the heat generated from the braking system can weaken and break down seals inside the calipers.
They can become rusty, contaminated or dirty, and start to leak brake fluid if you don’t drive regularly.
However, you should have your brakes checked immediately if you experience any of the following:
- Your brakes are continuously squeaking, squealing or grinding
- Your brake or antilock braking system (ABS) warning light comes on
- Your car jerks or pulls to one side when braking
- You need to pump your brakes for them to work properly
- Your brake pedal feels unusually soft and spongy or hard
- You notice brake fluid leaks around the wheels or engine compartment
Brake Caliper Installation Steps
The following is a generalized installation procedure. Note that the specific steps and torque specifications can vary by vehicle make and model, so always consult a vehicle-specific service manual .
Step 1: Preparation
-
Securely raise and support the vehicle on jack stands .
-
Remove the relevant wheel to access the brake caliper .
-
If equipped with an electronic parking brake, place the vehicle into the appropriate service mode to retract the piston .
Step 2: Caliper Removal (If not already removed)
-
Clean the area around the brake hose connection to prevent dirt ingress.
-
Remove the bolts securing the caliper to the steering knuckle or caliper bracket .
-
Disconnect the brake hose from the caliper. Be prepared to catch any spilled brake fluid and immediately plug the hose to prevent contamination and fluid loss .
-
Remove the caliper from the vehicle. If you are not completely removing it, use a sturdy S-hook to hang the caliper from the suspension spring or body. Never let the caliper hang by the brake hose .
Step 3: New Caliper Installation
-
Prepare the Caliper Bracket: If installing a new bracket, bolt it to the vehicle's knuckle using new bolts if specified by the manufacturer. Tighten to the correct torque specification .
-
Install Abutment Clips: Install new anti-rattle clips or abutment clips onto the caliper bracket .
-
Lubricate Contact Points: Apply a thin, even layer of high-temperature brake lubricant (like Silaramic lubricant) to the points where the brake pads make contact with the caliper bracket. This prevents squeaking and ensures smooth pad movement .
-
Install Brake Pads: Install the brake pads into the caliper bracket, ensuring the springs or clips are properly seated
-
Prepare and Attach Caliper:
-
If the piston needs to be retracted to fit over the new, thicker pads, use a brake caliper piston tool or a caliper compressor tool .
-
Remove the plug from the brake hose and connect it to the new caliper, using new sealing washers if required .
-
Carefully position the caliper over the pads and onto the mounting bracket.
-
-
Secure the Caliper: Install the caliper mounting bolts. Apply any recommended thread-locking compound (e.g., Loctite) to the bolt threads if specified . Tighten the bolts to the precise torque specification listed in the service manual .
-
Final Checks:
-
Ensure the brake hose is correctly routed, has no kinks or twists, and is secured in any retaining clips.
-
Reinstall the wheel, lower the vehicle, and tighten the lug nuts to the correct torque in a star pattern.
-
Step 4: System Bleeding and Testing
-
Bleed the Brakes: Start the engine (if necessary) and have an assistant pump the brake pedal. Open the caliper's bleed screw to expel any air that entered the system during installation. Close the screw before the pedal is released. Repeat until a steady stream of fluid with no air bubbles emerges. Top off the brake fluid reservoir as needed .
-
Seat the Pads: Before moving the vehicle, pump the brake pedal several times until it feels firm. This seats the brake pads against the rotor.
-
Road Test: Perform a careful road test at low speeds to ensure proper brake operation and pedal feel If necessary, follow the vehicle manufacturers procedure for burnishing (bedding-in) the new brake pads.
Important Precautions
Safety and proper preparation are paramount when working on brake systems. Adhering to the following precautions can prevent personal injury and damage to vehicle components.
-
Personal Protective Equipment (PPE): Always wear appropriate personal protective equipment, such as safety glasses and gloves, to protect against brake fluid and debris.
-
Vehicle Support: Never work on a vehicle that is not correctly and securely supported. Always use a high-quality jack and jack stands on a level surface.
-
Brake Fluid Hazards:
-
Toxicity: Brake fluid is harmful and can be toxic if ingested. Avoid contact with eyes and skin. Wash hands thoroughly after handling.
-
Paint Damage: Brake fluid will dissolve automotive paint. If any is spilled, immediately and thoroughly wash the affected area with clean water.
-
Fluid Compatibility: Use only the brake fluid type specified by the vehicle manufacturer (e.g., DOT 3, DOT 4). Using the wrong fluid can cause permanent damage to the braking system components.
-
| Item Specifics | |
|---|---|
| Brand | everpartstorecs |
| Manufacturer Part Number | 13960228 |
| Manufacturer Warranty | 1 Year |
| Interchange Part Number | 18B5045;18B5046 |
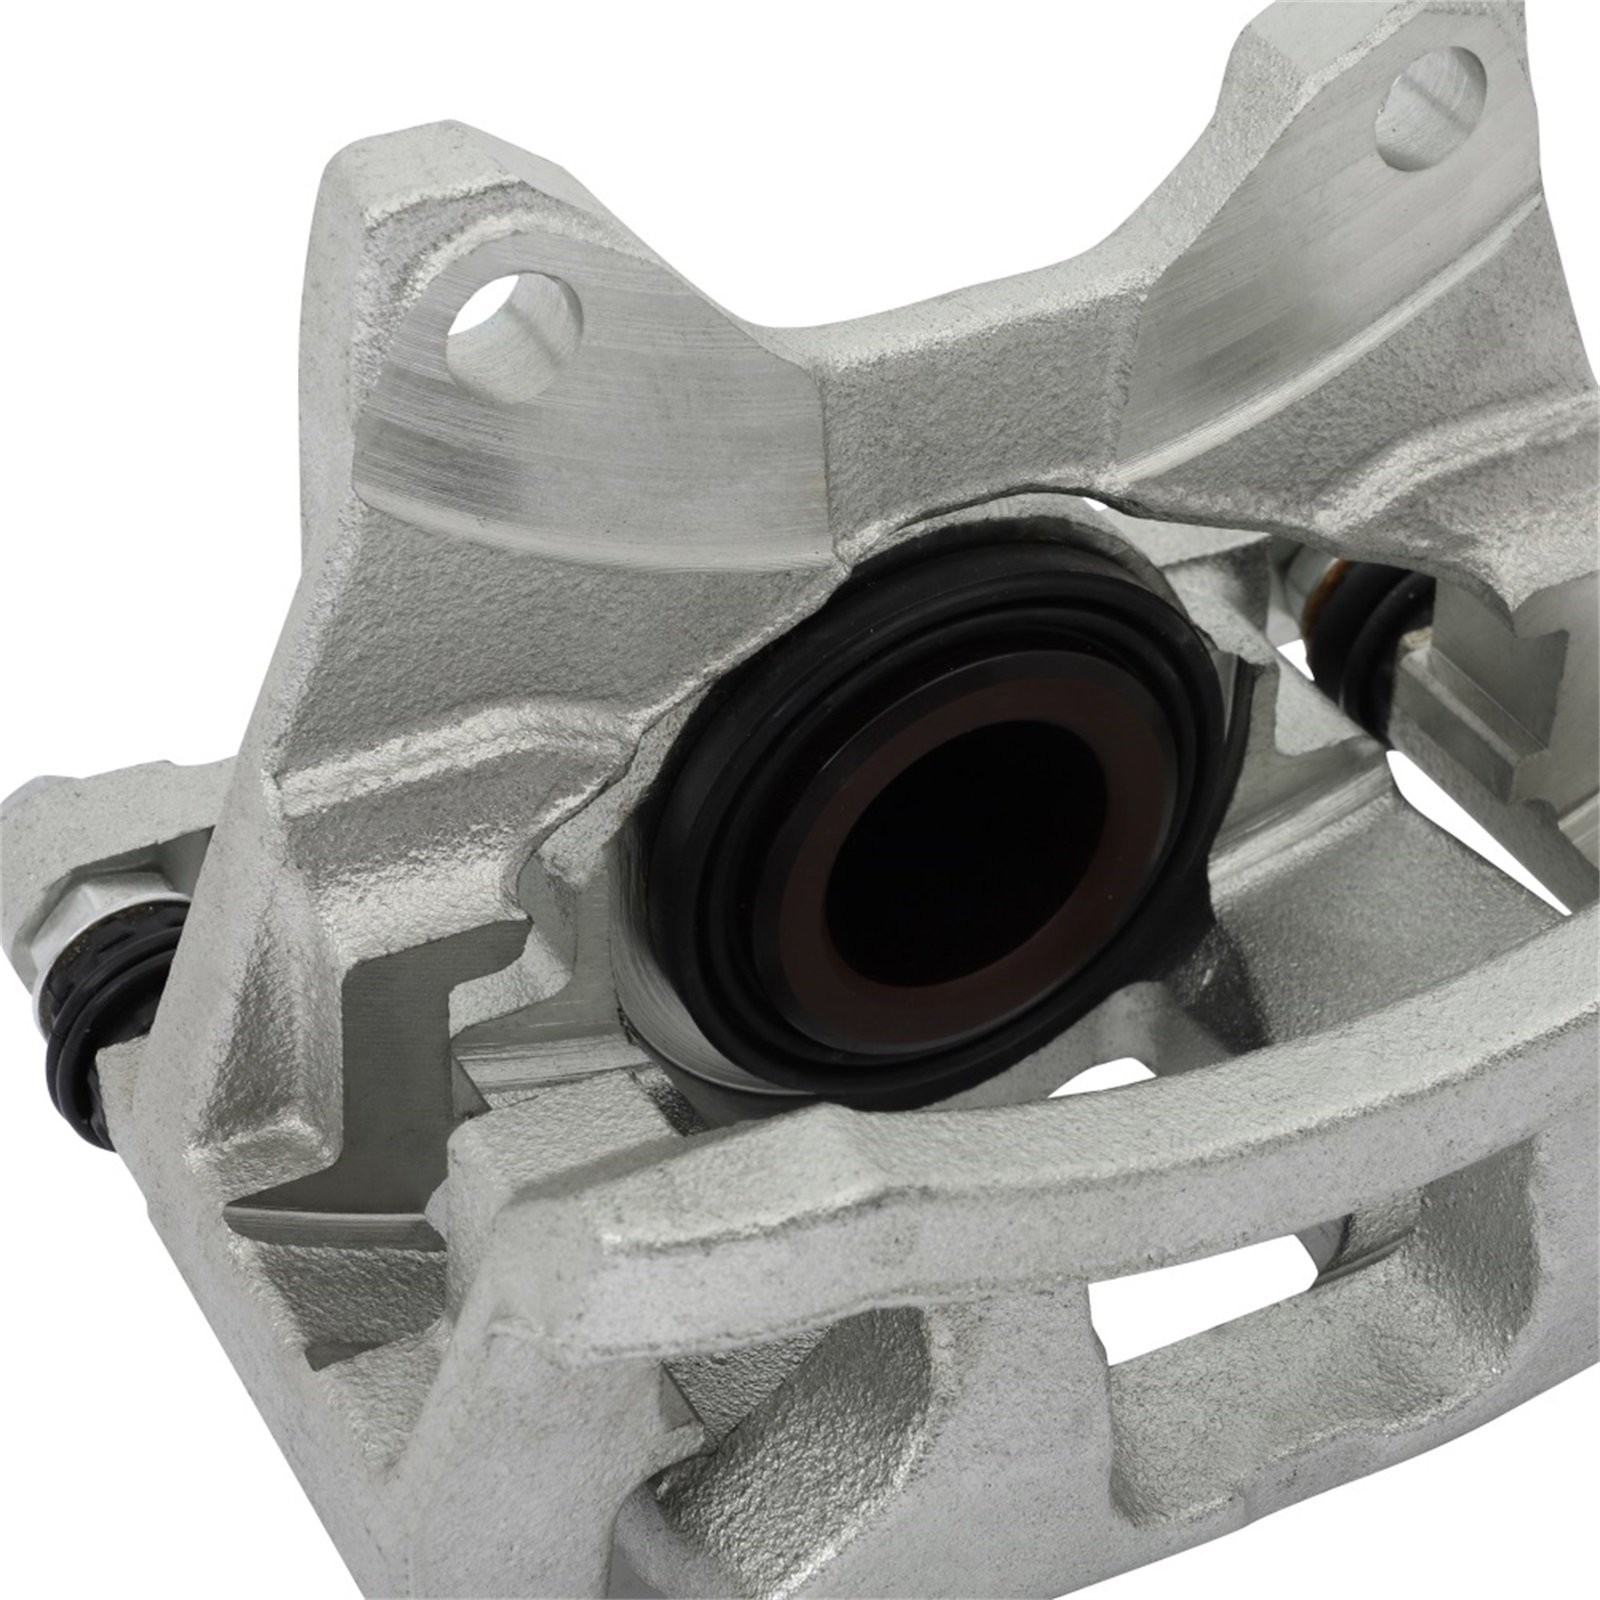
| Brake Caliper Finish | Zinc Plated |
| Color | Silver |
| Placement on Vehicle | Front Rear Left Right |
| Type | Brake Caliper |
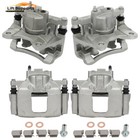
| Items Included | 4pcs Brake Calipers |
| Fitment Type | Direct Replacement |
| Custom Bundle | Yes |
| Superseded Part Number | Front rear brake caliper, with Bracket replacemet |
| OE/OEM Part Number | Brake caliper Piston |
| Performance Part | Yes |
| Vintage Car Part | No |
| Universal Fitment | No |
| Mounting Hardware Included | Yes |
| Piston Material | Phenolic |
| Caliper Casting Material | Metal |
| Bracket Included | Yes |
| Piston Quantity | 1 |
| Piston Diameter(in.) | 2.6 |
| Bracket Included | Yes |
| Piston Quantity | 1 |
| Bleeder Thread Size | M10*1.0 |
| Inlet Port Thread Size | M10*1.0 |
| Dust Boots Included | Yes |
| Bracket Mounting Bolts Included | Yes |
1.We will ship your order within 2 working days after confirming the payment, and most areas will receive delivery within 2-8 working days.
2.All orders will be shipped from our US warehouses and delivered by USPS,UPS or FedEx.
3.We will deliver the product to the address filled in eBay, if you need to change your address, please make sure you
tell us the new address within 12 hours after payment
(no delivery to remote areas).
4.We will provide you with a logistics tracking number, you can check the logistics status according to the number in time,
if there are any problems, contact us immediately please.
Any payments accepted by ebay also can be accepted.
1. Products can be returned for no reason within 30 days of receipt
(products to be returned must be in a resalable condition, if they have been used we will not accept the return).
2. If the product does not match the description on the product page, we will exchange or refund the product for free
within 30 days.
3. We offer one year warranty, but man-made damage by abuse or wrong operation is not covered by this warranty.
If you have any concerns about the product or before providing a review or feedback, please contact us immediately, we will give a satisfied solution.
Do check the compatible chart or contact us if you have any quetion in compatibilities before ordering the items.
Shop Category |
4Pcs Brake Calipers Front Rear For 2008-2012 Jeep Liberty 2007-2010 Dodge Nitro
Fitment For 2007-2010 Dodge Nitro
When to Replace Brake Calipers? Over time in normal driving conditions, the heat generated from the braking system can weaken and break down seals inside the calipers. They can become rusty, contaminated or dirty, and start to leak brake fluid if you don’t drive regularly. However, you should have your brakes checked immediately if you experience any of the following:
Brake Caliper Installation Steps The following is a generalized installation procedure. Note that the specific steps and torque specifications can vary by vehicle make and model, so always consult a vehicle-specific service manual . Step 1: Preparation
Step 2: Caliper Removal (If not already removed)
Step 3: New Caliper Installation
Step 4: System Bleeding and Testing
Important Precautions Safety and proper preparation are paramount when working on brake systems. Adhering to the following precautions can prevent personal injury and damage to vehicle components.
1.We will ship your order within 2 working days after confirming the payment, and most areas will receive delivery within 2-8 working days.
2.All orders will be shipped from our US warehouses and delivered by USPS,UPS or FedEx.
3.We will deliver the product to the address filled in eBay, if you need to change your address, please make sure you tell us the new address within 12 hours after payment (no delivery to remote areas).
4.We will provide you with a logistics tracking number, you can check the logistics status according to the number in time, if there are any problems, contact us immediately please. Any payments accepted by ebay also can be accepted. 1. Products can be returned for no reason within 30 days of receipt (products to be returned must be in a resalable condition, if they have been used we will not accept the return).
2. If the product does not match the description on the product page, we will exchange or refund the product for free within 30 days.
3. We offer one year warranty, but man-made damage by abuse or wrong operation is not covered by this warranty. If you have any concerns about the product or before providing a review or feedback, please contact us immediately, we will give a satisfied solution.
Do check the compatible chart or contact us if you have any quetion in compatibilities before ordering the items. |