


|
|
|

|

|

|

|

|

|

|

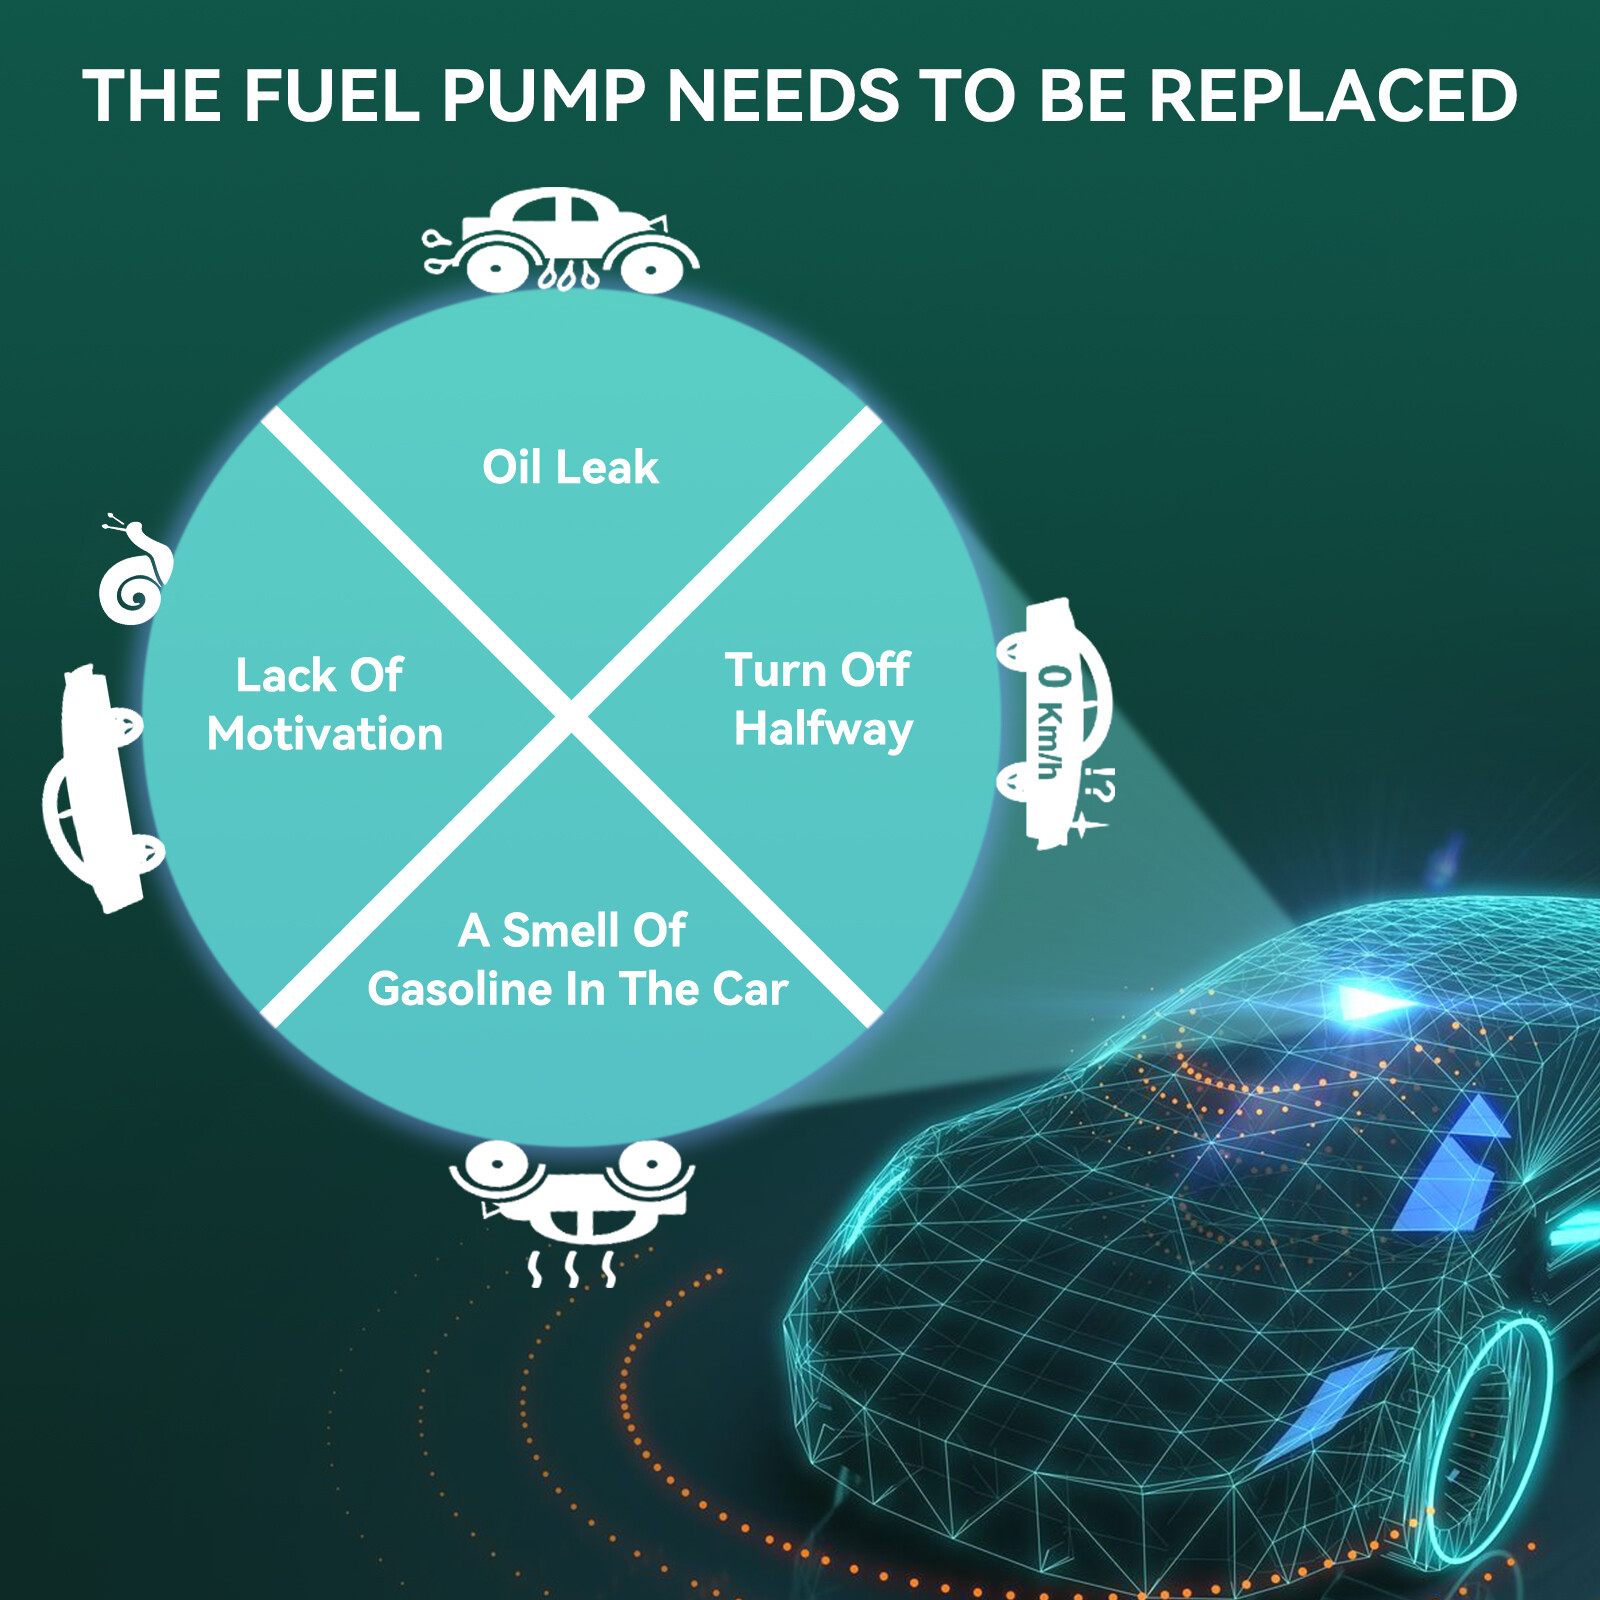
The Function of the fuel pump is to supply fuel at a certain pressure to the engine fuel injection system.
However,the fuel pump have a limited life.If you notice any of the following signs with your car:
(1).Engine Sputtering at High Speeds
(2).Decreased Fuel Pressure
(3).Losing Power when the Vehicle is under Stress
(4).Inability to accelerate
(5).Decreasing Gas Mileage
(6).Engine Not Starting
This may indicate that you need to replace the fuel pump
Fuel Pump Replacement Guideline:
Please Note the following before replacing the fuel pump:
1.Ensure that you are in a well ventilated and level work area.
2.Use approved safety glasses or goggles when working on any motor vehicle.
3.The gasoline is sucked out of the tank and stored in a container dedicated to gasoline.


Picture(A)
Disconnect the ground (negative) cable of the battery and ensure that it does not accidentally spark while working.
Picture(B)
Locate and remove gas tank filler neck mounting bolts or remove the filler tube from the tank. This will aid the fuel removal especially if you had problems accessing through the filler neck.

Picture(C)
Located the electrical connector for the fuel pump and fuel level sender which will be in the same wiring harness. If access if difficult or you can't see them wait until the tank is lowered slightly to undo the connector. Inspect electrical connector for burns or heated spots and replace if damaged. A burned connector can cause a pump to fail intermittently.


Picture(D)
There will be fuel vapor lines as part of the EVAP system these will need to be removed or disconnected.
Picture(E)
Locate and release tank holder supports, there are two in most cases. Remove the mounting bolts at this point the tank will become loose but may not come out.


Picture(F)
Lower the tank and release top mounted fuel lines or electrical connectors if any. Continue to remove the tank.
Picture(G)
Remove the tank, this will expose the fuel pump retainer ring. Use an aerosol cleaner to remove dirt and debris from the area. This will keep the inside of the fuel tank clean when performing the repair.


Picture(H)
Remove fuel pump mounting bolts or retainer ring to access the fuel pump module and remove the unit. Use a hammer and punch to remove the ring counterclockwise.
Picture(I)
Remove the fuel pump which will be attached to the mounting plate or positioned down inside the tank held by plastic retainer clips.
Picture(J)
Remove the fuel pump from the tank.
table#Attrid1298715 {border-collapse:separate}
table#Attrid1298715 tr:last-child td:last-child{border-bottom-right-radius: 10px;}
table#Attrid1298715 tr:last-child td:first-child{border-bottom-left-radius: 10px;}
table#Attrid1298715 tr:nth-of-type(1n){}
table#Attrid1298715 tr:nth-of-type(2n){}
table#Attrid1298715 td{padding: 3px;}
table#Attrid1298715{font-size:12px !important;font-family:Arial !important;color:#4c4c4c !important;text-align:left !important;}
table#Attrid1298715 td:first-child{font-weight: 900; !important;;padding:3px;border:1px none ;}
#m_pre1298715{border:1px none ;overflow: hidden;border-radius: 10px;}
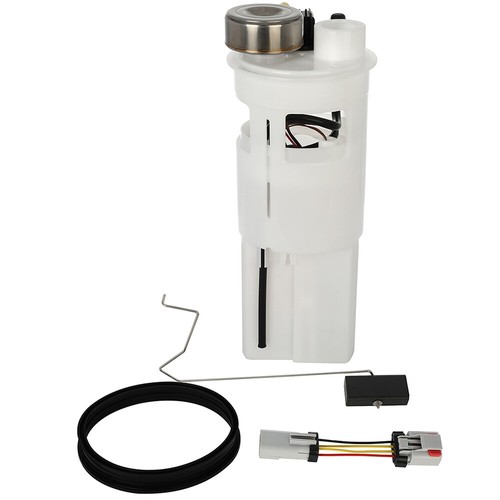
Please make sure your adress is corect before shipment. All domestic orders will be shipped via USPS, UPS or Fedex from our US warehouse and usually arrives to your door in about 2-7 business days. All of our brand new items come with a 30-Days money-back guarantee. Any question, please contact us by email on working days. WARNING: Please confirm compatibility again. Item Specifics Type Fuel Pump Drive Type Electrical Condition New Placement on Vehicle Fuel Tank Color White Please Note 1st Design,To VIN #4S558922 Outlet Type Quick Connect Outlet Size 3/8 Inlet Type Strainer Inlet Count 1 Outlet Count 1 Terminal Type Flat Pin Count 4 Terminal Gender Female Connector Shape Oval Connector Gender Male Internal Or External Strainer External Wiring Harness Included Yes Fuel Type Gasoline Wire Quantity 4 Voltage 12 vDC Gasket or Seal Included Yes Float Included Yes Package Contents Fuel Pump Module Assembly w/Float Arm,Seal,Wire Harness Interchange Part Number E3521M,P74967M,P75051M,P76179M,SP3521M,67388,19169381 Cross Part Number 2202-335288,DELFG0346,FP1371M,25323787,89047667 Flow Rate 35-45 gph Fitment Type Direct Replacement Manufacturer Part Number KING05239805FB Manufacturer Warranty 3 Years Custom Bundle No Pressure 75-85 psi Brand Fuel_Kingparts Mounting Hardware Included No Black Pressure Sensor Included No Modified Item No OE/OEM Part Number FG0268,FG0346MU1820,MU221,MU1211,F2532A,402-P3521M
Best Sales
Newly Listed
Terms & Contact Payment Policy Shipping Policy Return Policy FAQ About Us |
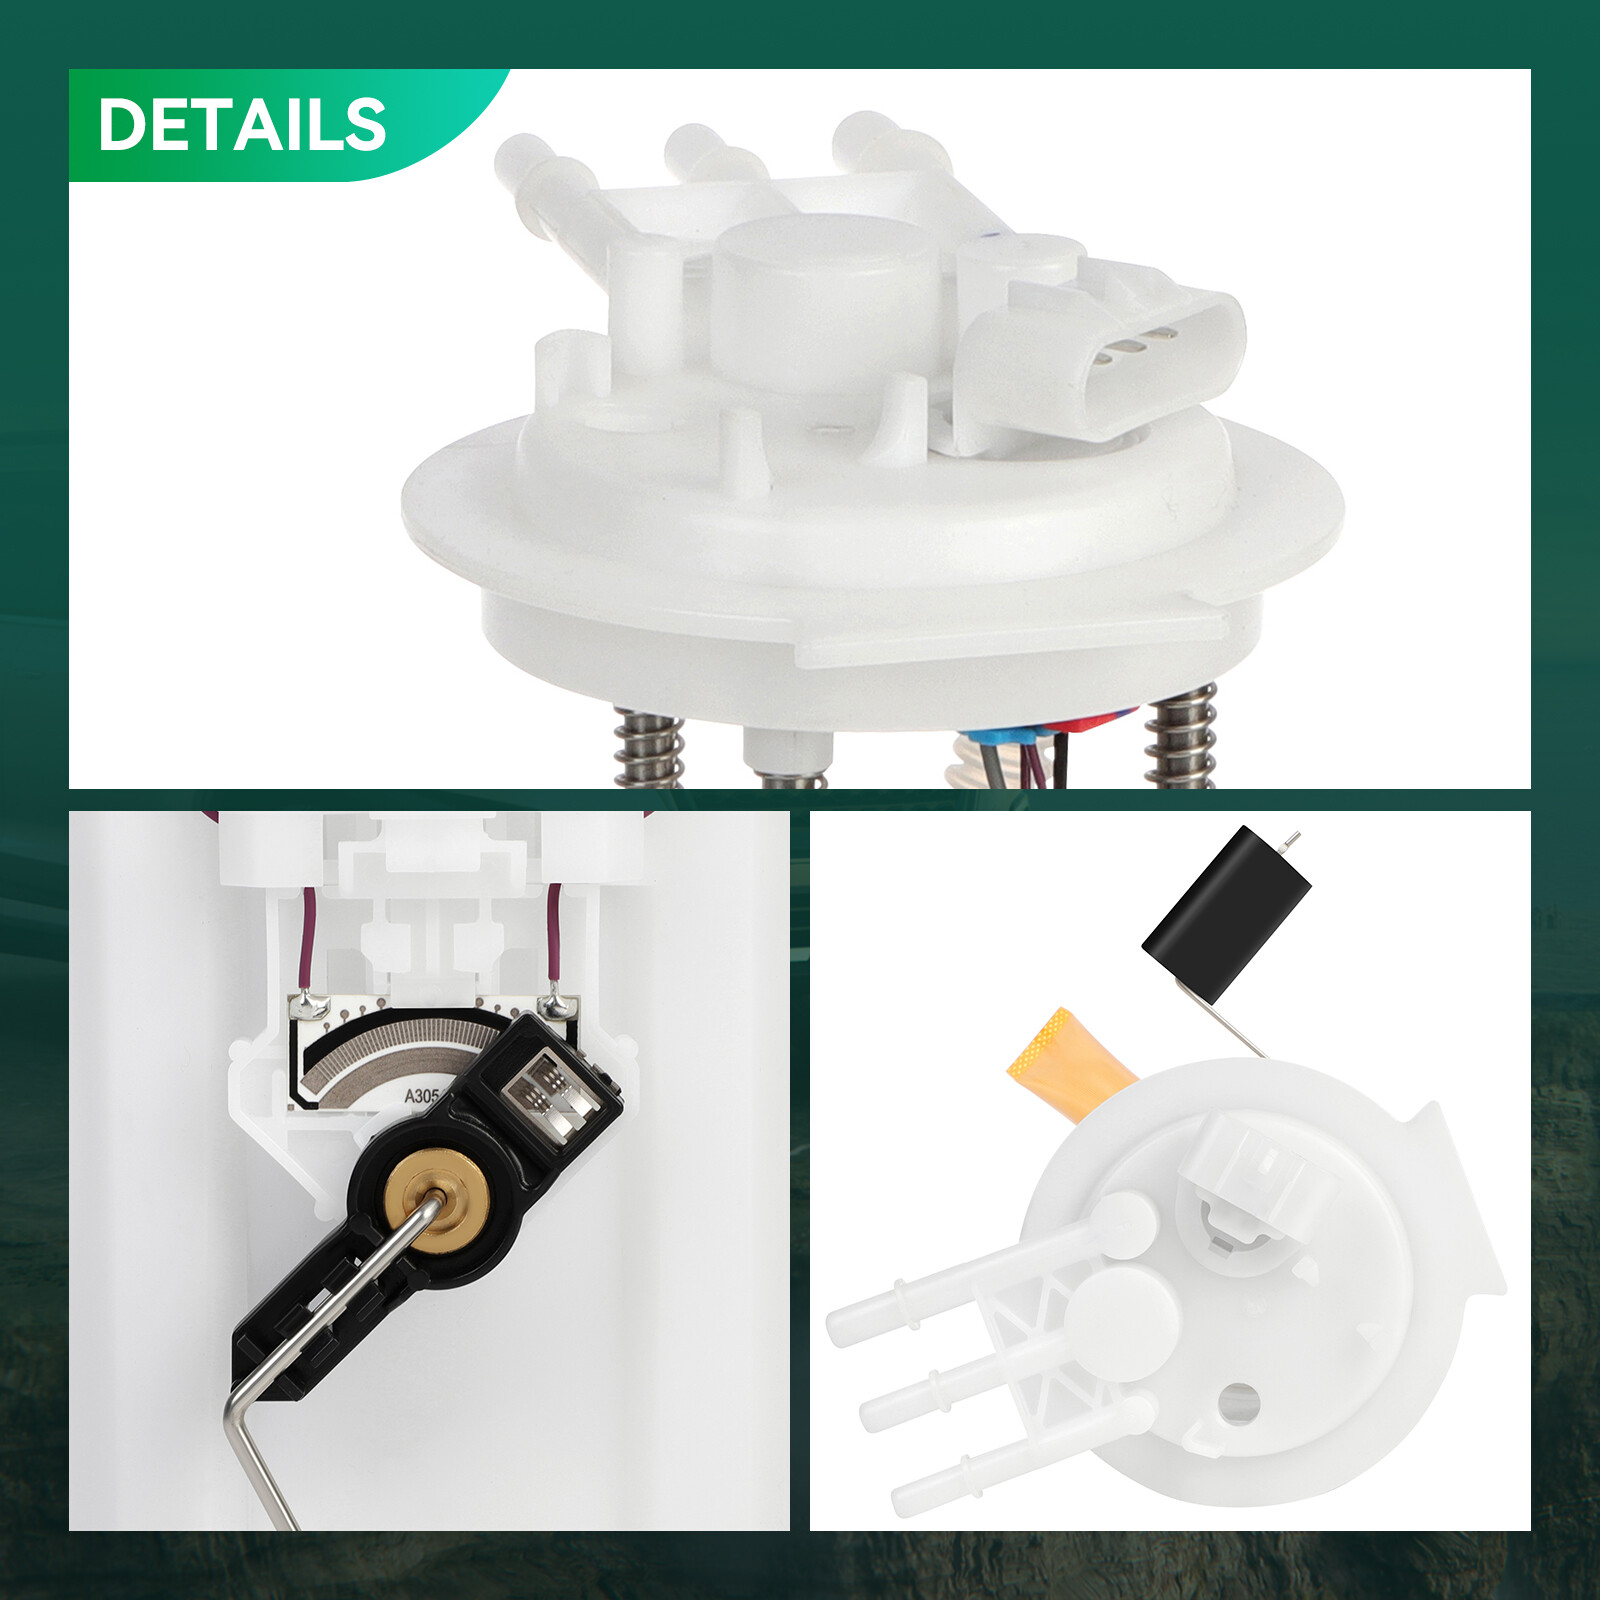
For 2002-2004 Buick Rendezvous 2001-2004 Pontiac Aztek 3.4L Fuel Pump Assembly
The Function of the fuel pump is to supply fuel at a certain pressure to the engine fuel injection system. However,the fuel pump have a limited life.If you notice any of the following signs with your car: (1).Engine Sputtering at High Speeds (2).Decreased Fuel Pressure (3).Losing Power when the Vehicle is under Stress (4).Inability to accelerate (5).Decreasing Gas Mileage (6).Engine Not Starting This may indicate that you need to replace the fuel pump
Fuel Pump Replacement Guideline: Please Note the following before replacing the fuel pump: 1.Ensure that you are in a well ventilated and level work area. 2.Use approved safety glasses or goggles when working on any motor vehicle. 3.The gasoline is sucked out of the tank and stored in a container dedicated to gasoline.
Picture(A) Disconnect the ground (negative) cable of the battery and ensure that it does not accidentally spark while working. Picture(B) Locate and remove gas tank filler neck mounting bolts or remove the filler tube from the tank. This will aid the fuel removal especially if you had problems accessing through the filler neck.
Picture(C) Located the electrical connector for the fuel pump and fuel level sender which will be in the same wiring harness. If access if difficult or you can't see them wait until the tank is lowered slightly to undo the connector. Inspect electrical connector for burns or heated spots and replace if damaged. A burned connector can cause a pump to fail intermittently.
Picture(D) There will be fuel vapor lines as part of the EVAP system these will need to be removed or disconnected. Picture(E) Locate and release tank holder supports, there are two in most cases. Remove the mounting bolts at this point the tank will become loose but may not come out.
Picture(F) Lower the tank and release top mounted fuel lines or electrical connectors if any. Continue to remove the tank. Picture(G) Remove the tank, this will expose the fuel pump retainer ring. Use an aerosol cleaner to remove dirt and debris from the area. This will keep the inside of the fuel tank clean when performing the repair.
Picture(H) Remove fuel pump mounting bolts or retainer ring to access the fuel pump module and remove the unit. Use a hammer and punch to remove the ring counterclockwise. Picture(I) Picture(J) Remove the fuel pump from the tank.
table#Attrid1298719 {border-collapse:separate}
table#Attrid1298719 tr:last-child td:last-child{border-bottom-right-radius: 5px;}
table#Attrid1298719 tr:last-child td:first-child{border-bottom-left-radius: 5px;}
table#Attrid1298719 tr:nth-of-type(1n){padding: 5px!important;background:#ffffff;}
table#Attrid1298719 tr:nth-of-type(2n){padding: 5px!important;background:#f7fffb;}
table#Attrid1298719 td div{padding: 5px;text-align:;}
table#Attrid1298719 {font-family:Arial !important;font-size:16px !important;color:#000000 !important;text-align:left !important;}
table#Attrid1298719 td:first-child{}
table#Attrid1298719 td{padding:12px;border:1px solid #000000;}
Please make sure your adress is corect before shipment. All domestic orders will be shipped via USPS, UPS or Fedex from our US warehouse and usually arrives to your door in about 2-7 business days. All of our brand new items come with a 30-Days money-back guarantee. Any question, please contact us by email on working days. WARNING: Please confirm compatibility again.
All rights reserved. |
||||||||||||||||||||||||||||||||||||||||||||||||||||||||||||||||||||||||||||||||||||||||||||||||||||||||||||||||